Step 1: Open Simulator
There are couple of ways to get the Simulator running, few of them are:
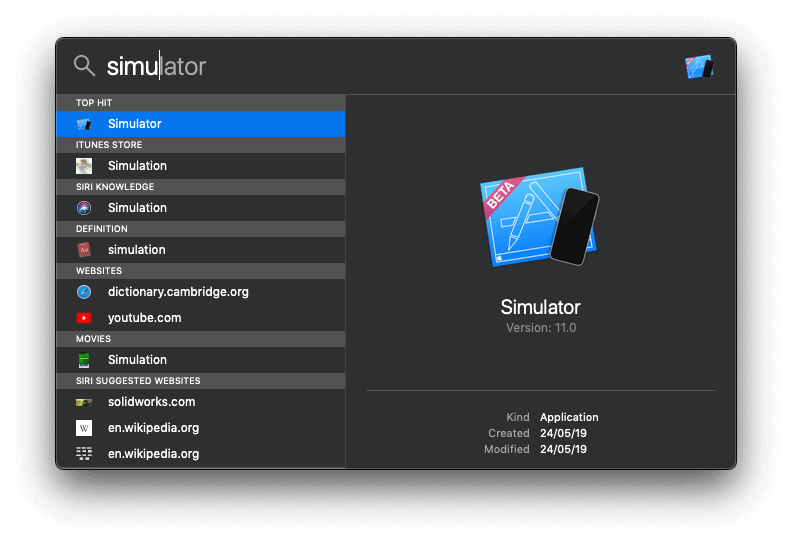
- Open “Spotlight” search and type “Simulator” and select the Simulator app option in the ‘Top Hits’. Please do make sure it’s the Simulator version 11 or up.
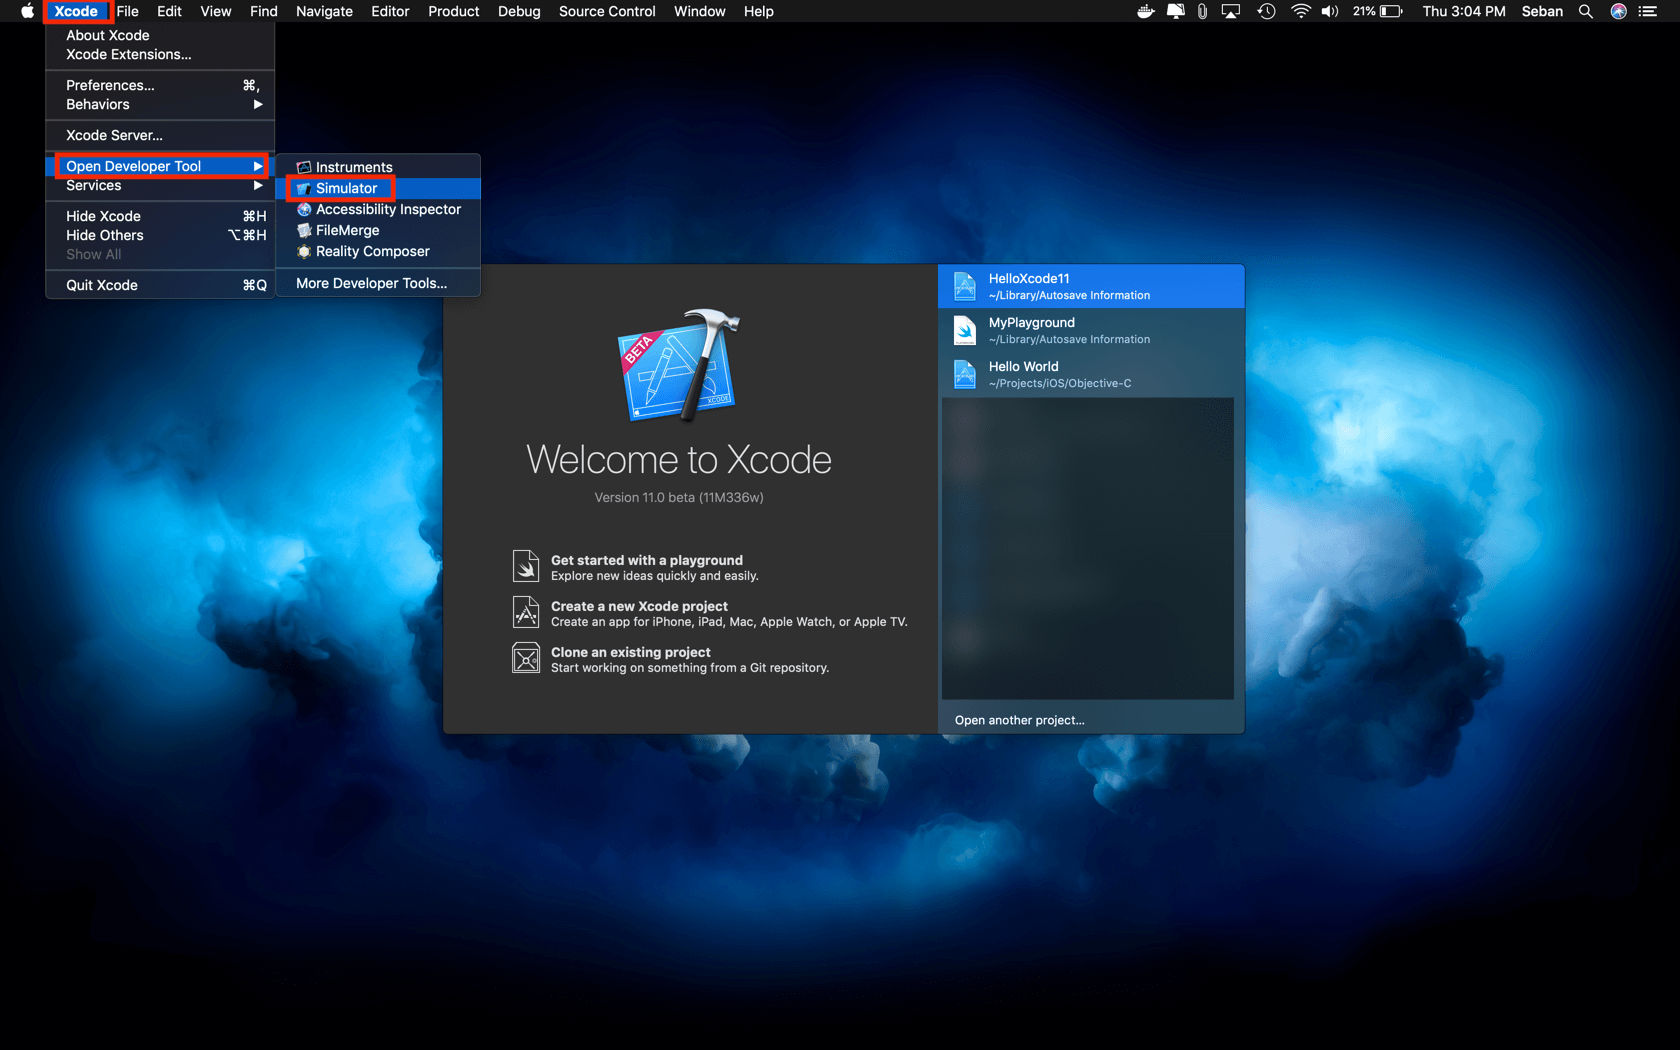
- Launch the new Xcode 11 beta; hover the mouse pointer on the “Xcode” option in the menu bar located to on upper left part of your Mac window. Hover or select the the “Open Developer Tool” option. Finally, click on the “Simulator” option as shown in screen shot below.
Step 2: Update Simulator’s device setting
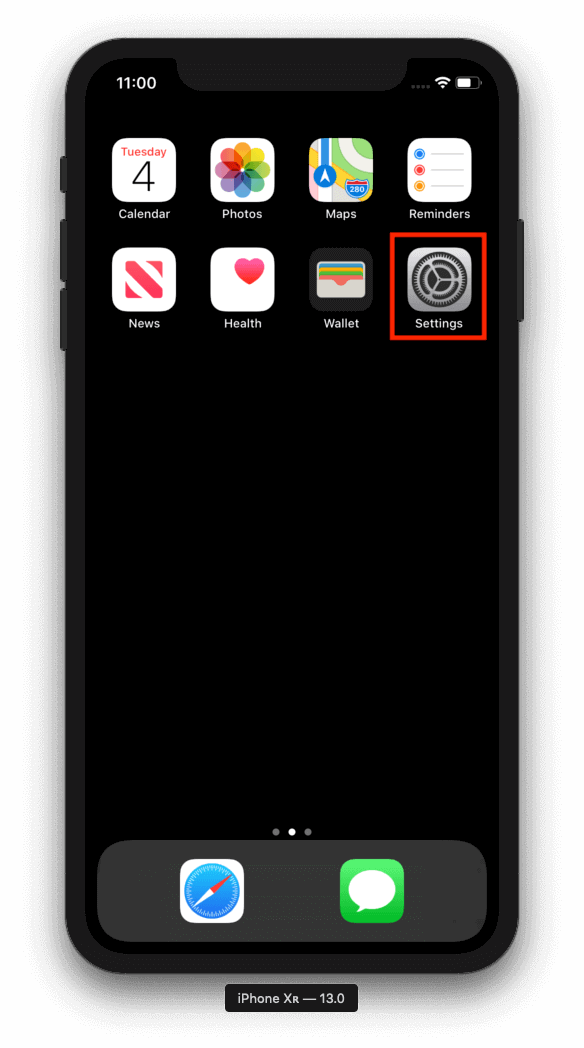
Once, the awesome Simulator has loaded completing, you would end up in a very familiar screen as shown below. Open the “Settings” iOS app (highlighted in red in the image below) in the Simulator.
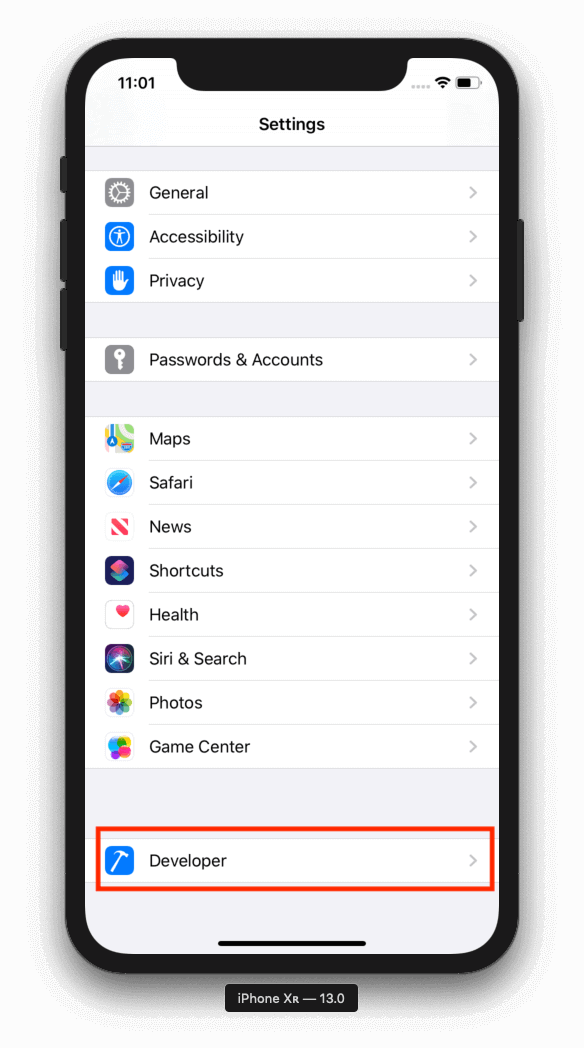
Once the Settings app is launched, scroll down to the end to see the option for “Developer” (highlighted in red in the image below), it has hammer icon in blue to its left.
Finally, toggle the switch for the first option which says “Dark Appearance” (highlighted in red in the image below) under the “Appearance” section.

Step 3: Dark mode ON!!!
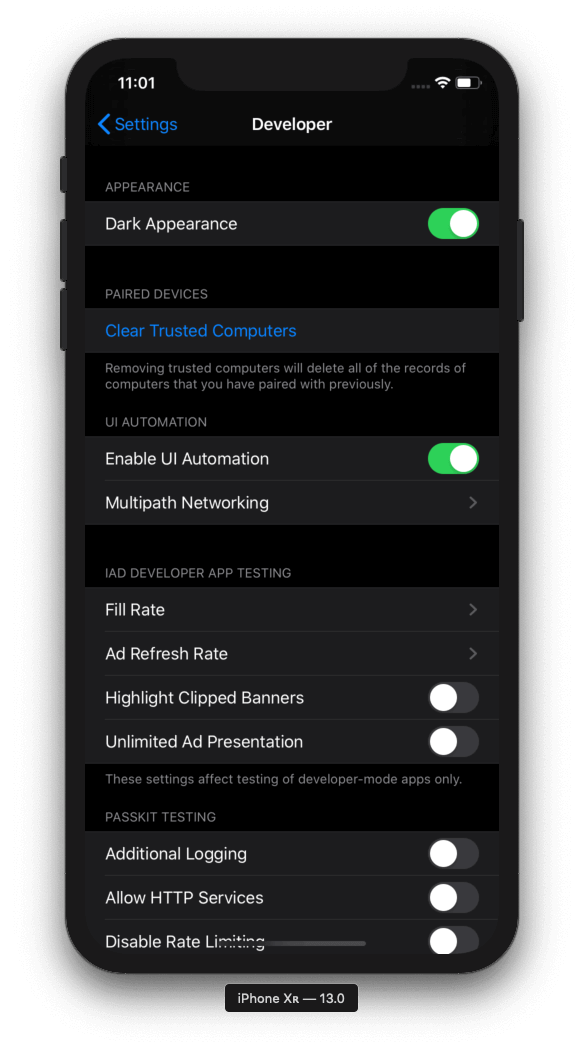
Voila, there you have it. iOS 13 Simulator with “Dark mode” on.
Feel free to take a look at the new iOS 13 features with this link.

Leave a Reply