
What is XAMPP?
XAMPP is one of the most popular PHP development environment
XAMPP is a completely free and easy to install Apache distribution containing MariaDB, PHP, and Perl. The XAMPP open source package has been set up to be incredibly easy to install and to use.

Here’s a breakdown of the four components of XAMPP:
- Linux: an operating system
- Apache: an open source web server
- MariaDB: one of the most popular database servers made by the original developers of MySQL which is guaranteed to stay open source
- PHP: a server-side scripting language (which WordPress sites run on)
- Perl: a highly capable and feature-rich programming language with over 30 years of development
When these components come together, they create a local web server on your computer. Which means you can build entire websites and see what they would look like online without being connected to the Internet.
Basically, XAMPP allows you to run a WordPress site on your computer, which is why XAMPP is awesome for testing out new features on your existing site, making bigger changes, or building an entire site from scratch. (If you’d like to learn more about local development, click here)
Step 1: Download XAMPP
Head over to the downloads page of the XAMPP. Scroll down to section for OS X and click on the blue Download (64-bit) button.

I would suggest if you could download one of versions highlighted in the image above which says “7.2.X / PHP 7.2.X” or “7.3.X / PHP 7.3.X” and not the XAMPP-VM ones.
Step 2: Install XAMPP on Your Mac
XAMPP should start downloading automatically. It can take a few minutes to download. When it’s finished, click on the downloaded file and a typical installation box will appear. Double click on the XAMPP icon to begin the installation.
Follow through the installation process
Step 3: Launching XAMPP
There are two ways to launch XAMPP:
- Go into your Applications folder (where XAMPP should have been saved in the previous step) and click the XAMPP folder.
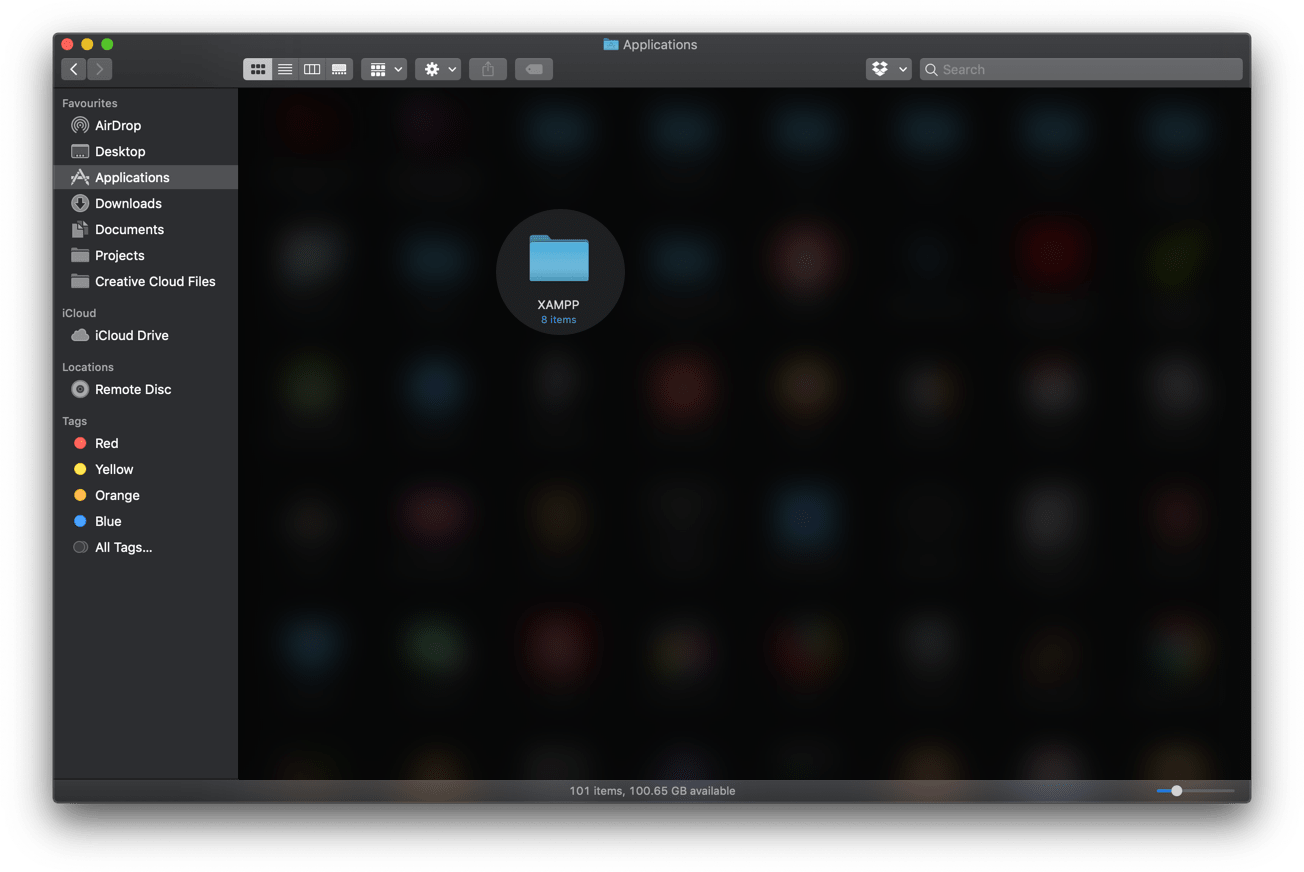
Once inside, you should see folder contents that looks similar to the image below.

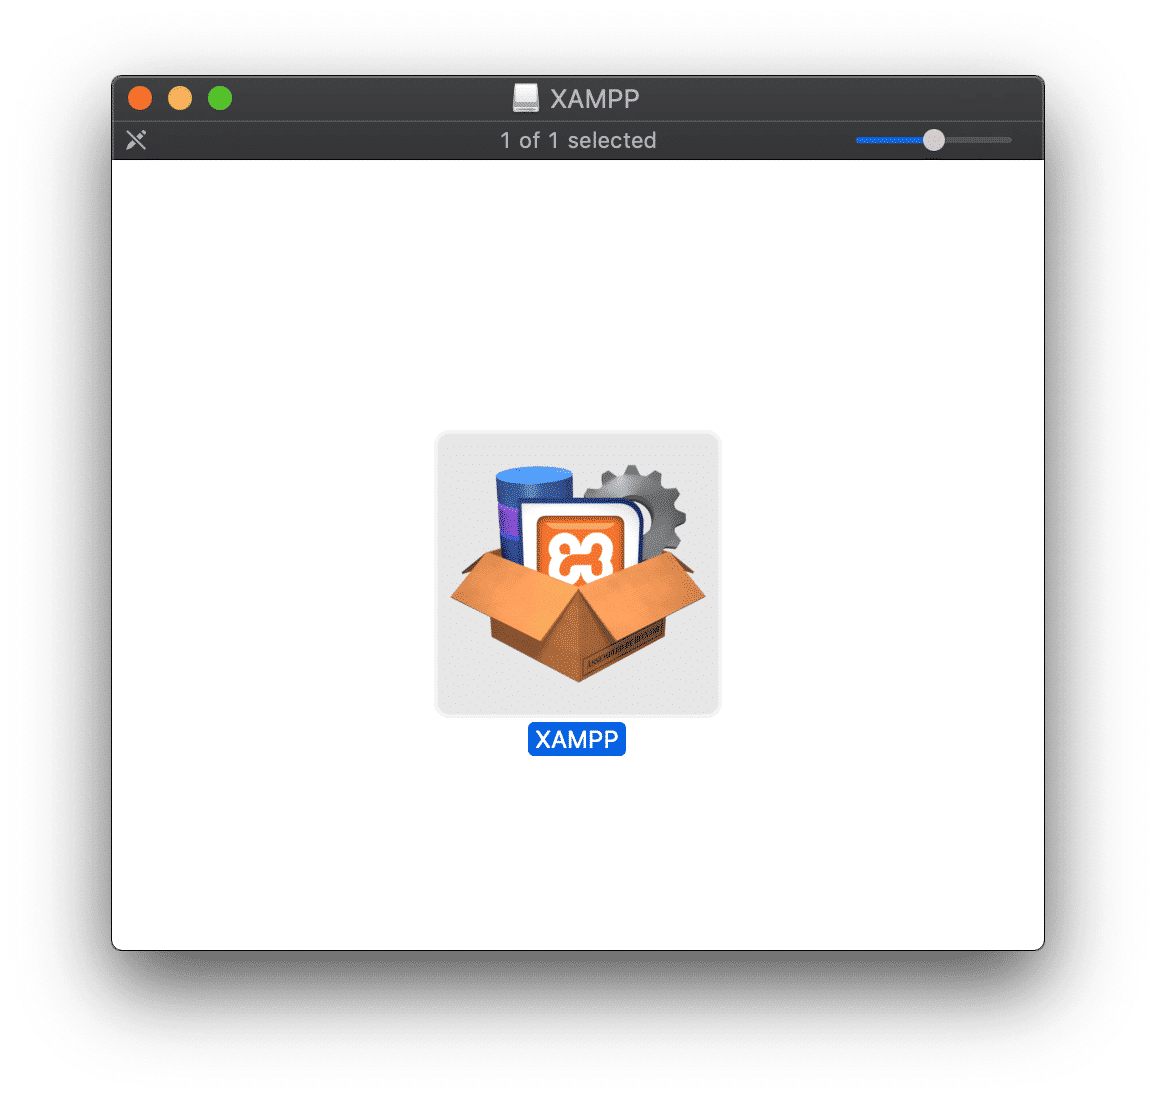
Double click on the white icon which says “manager-osx”, and you’ll see this box appear:
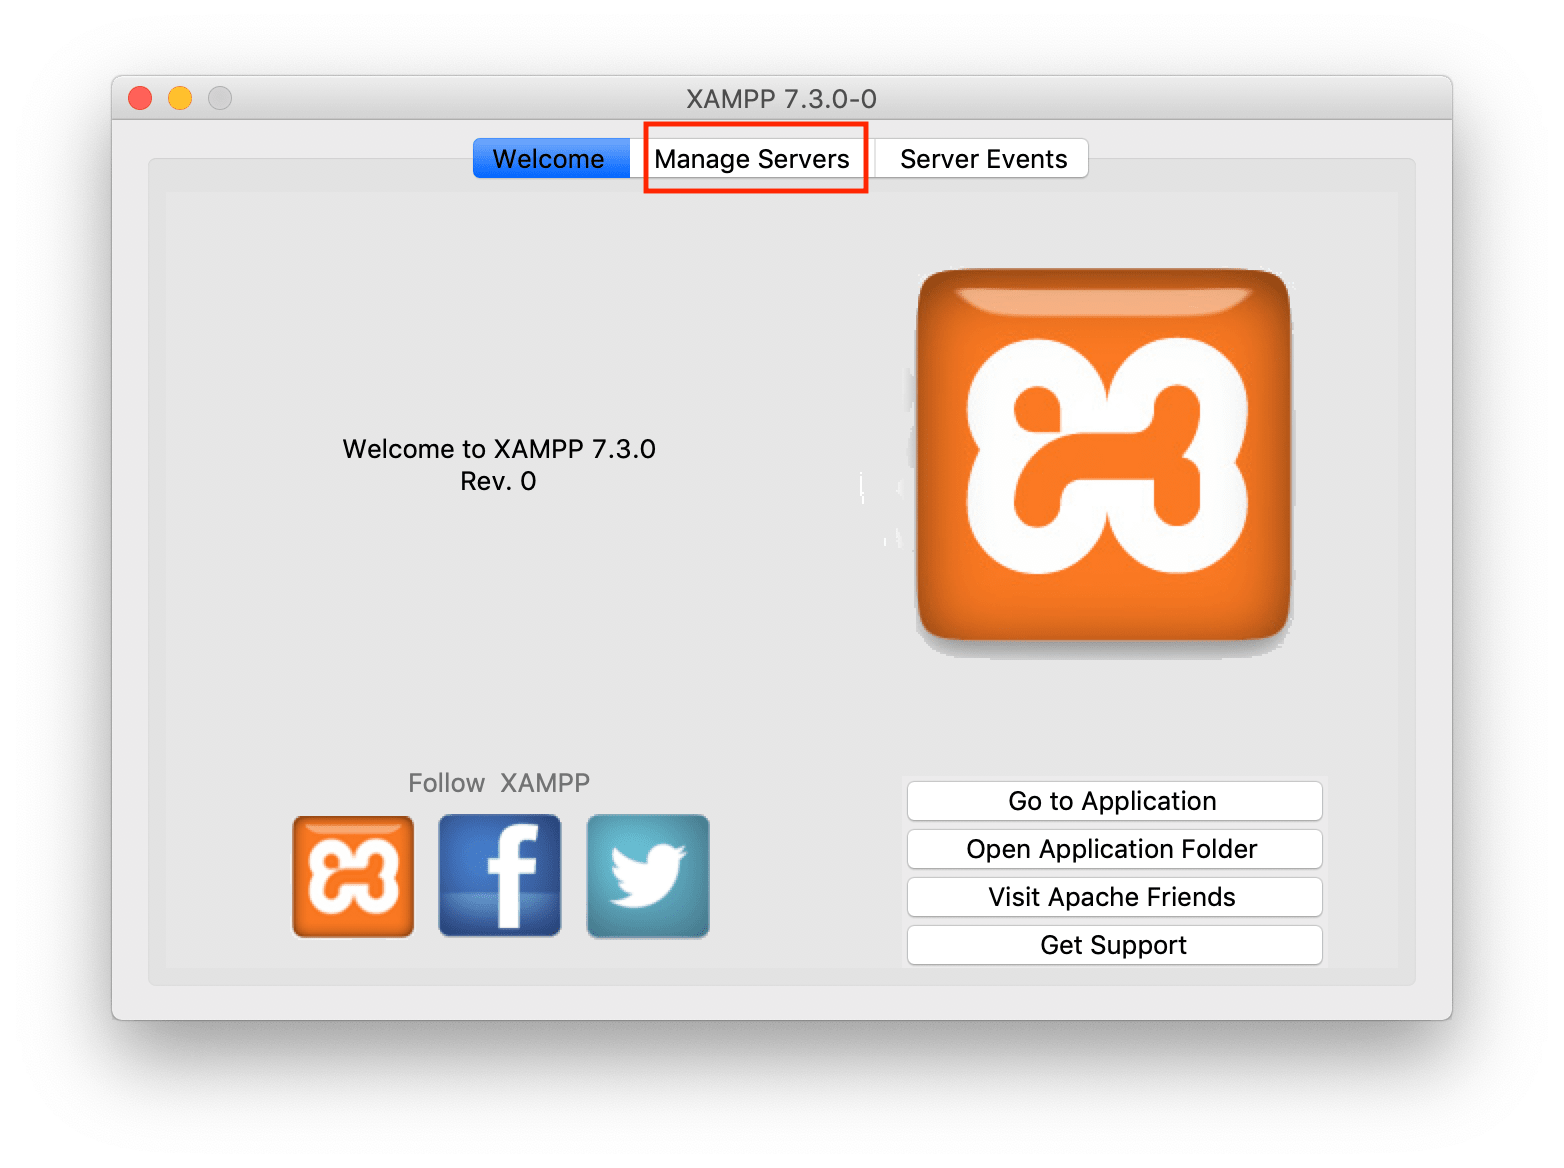
Step 4: Run the Servers
Now, click on the Manage Servers tab option in the XAMPP app.
Now to run the Apache & MySQL servers, either click on the white button in the bottom which says Start All or if you would like to start them up individually click on the white button on the right which says Start.
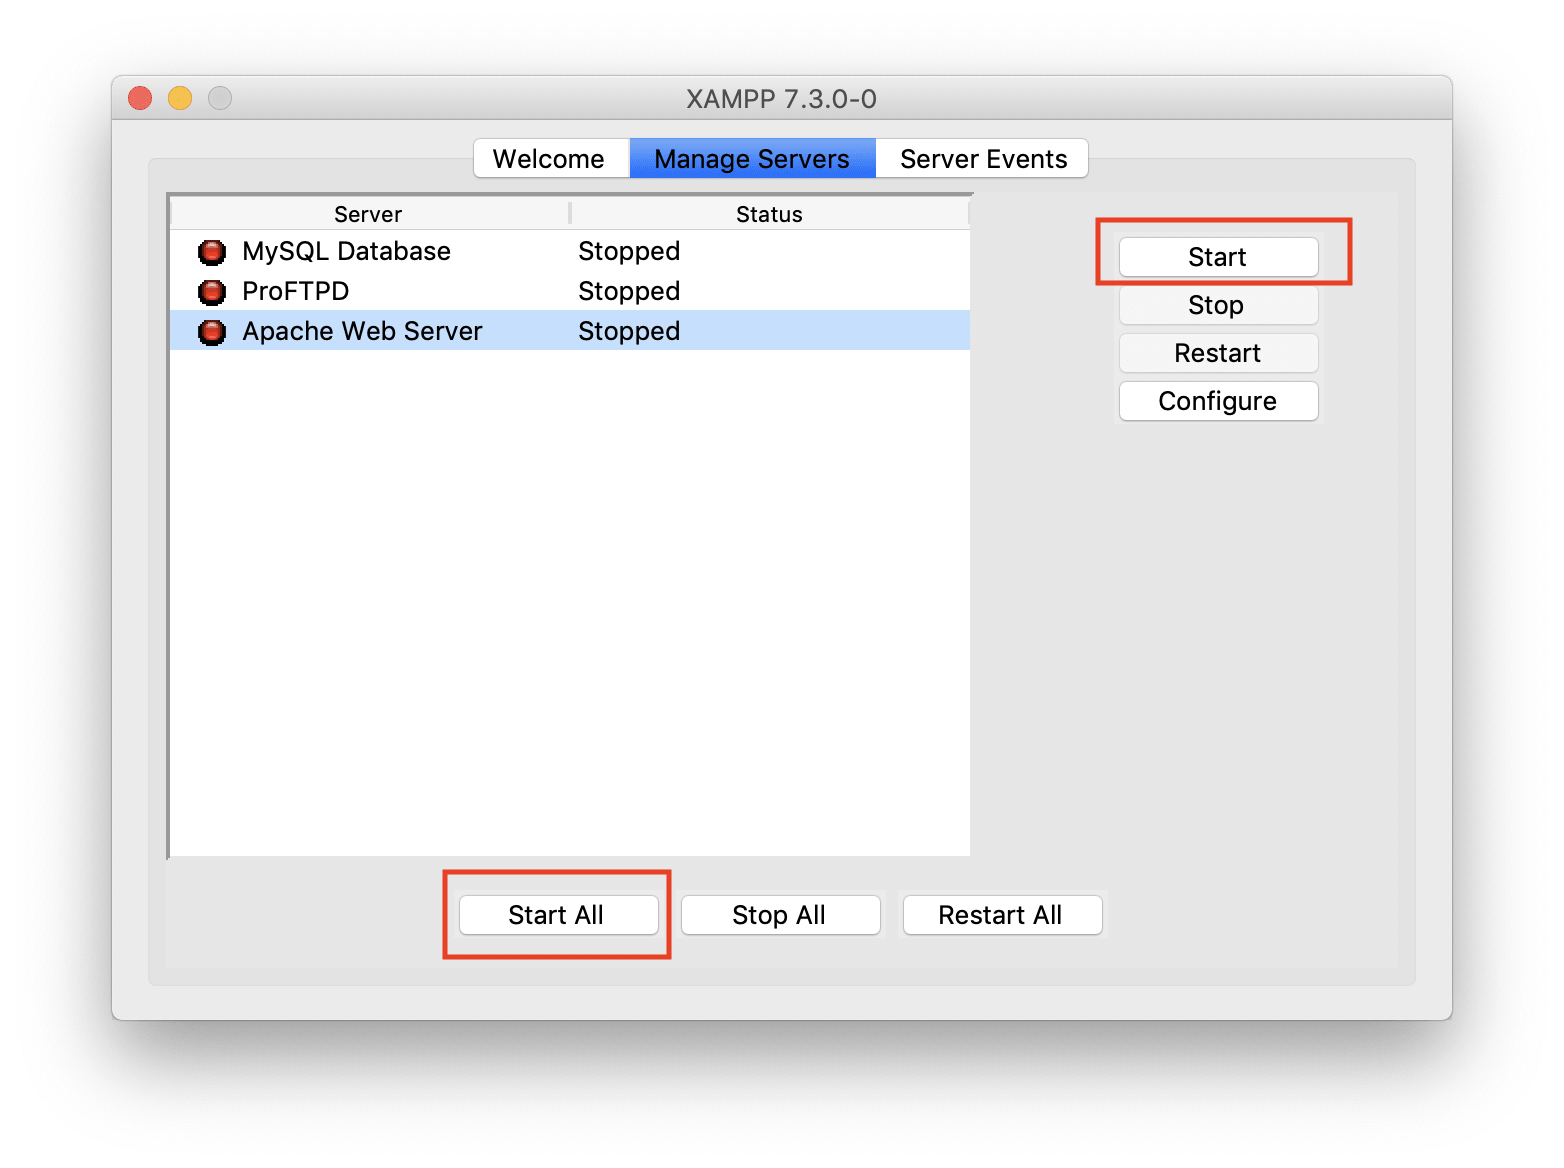
It can take a few seconds for the servers to run. You would see your app as seen in the image below.
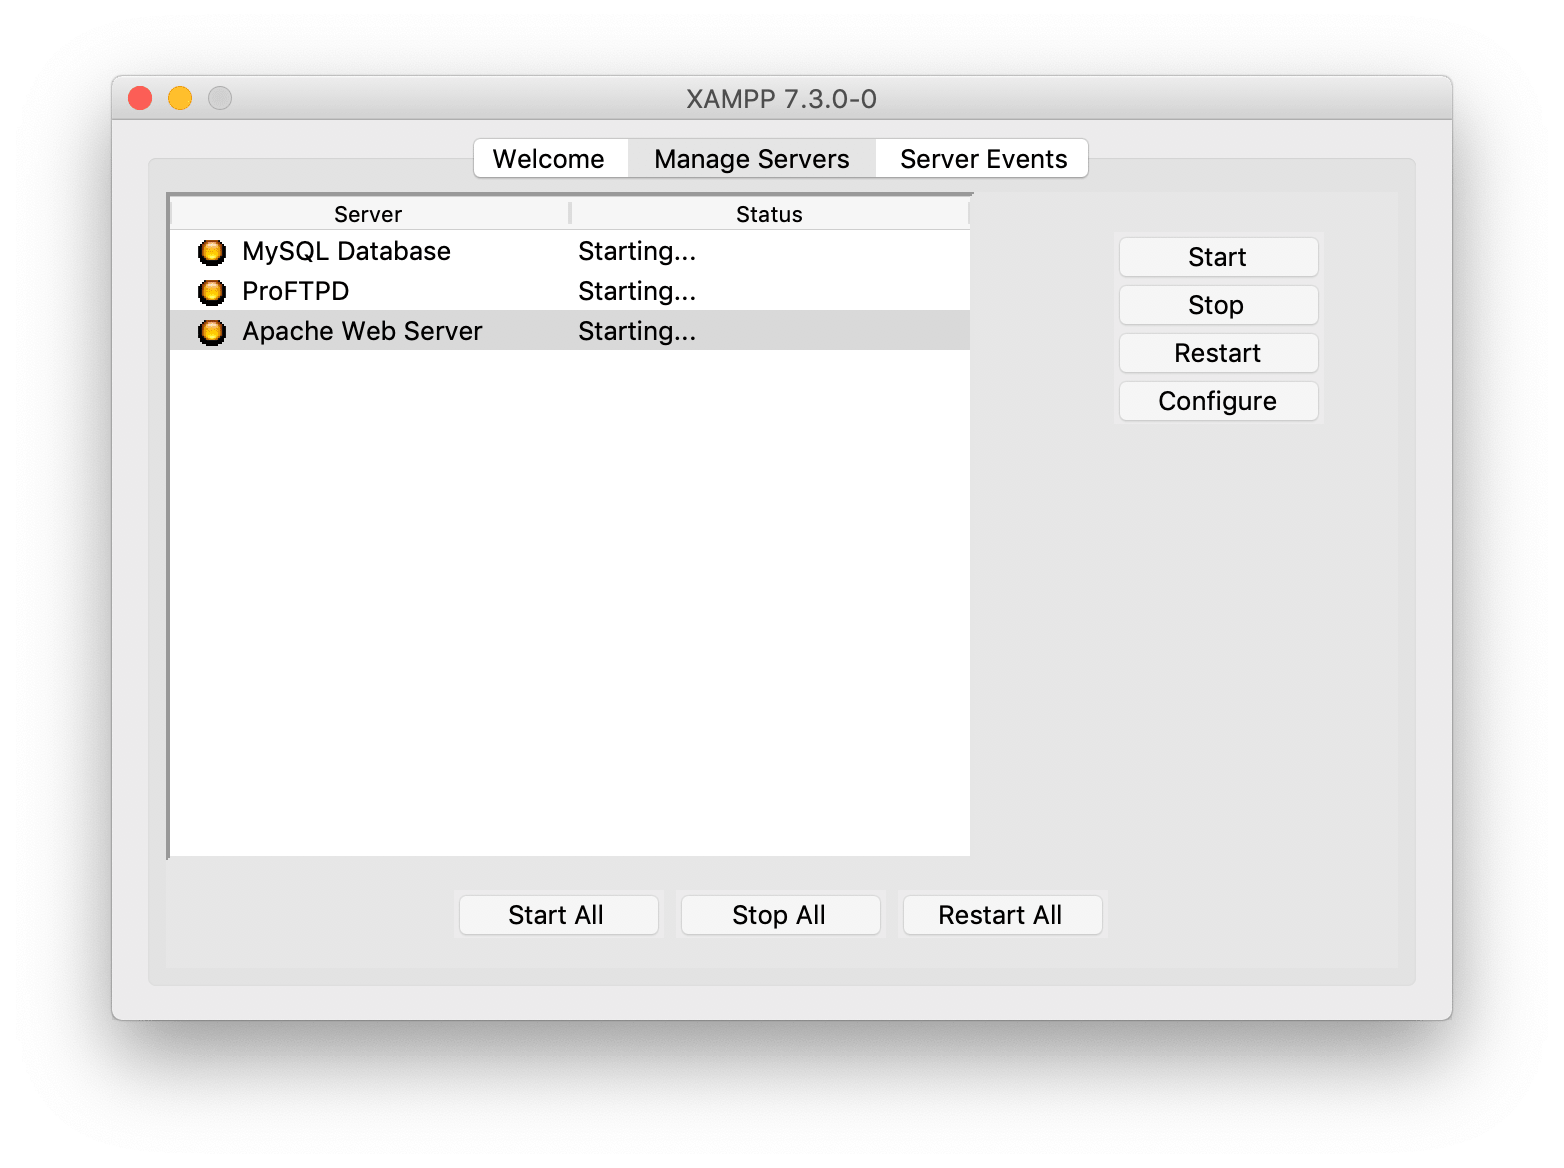
Once, the servers are up you would see the status change to Running and the color of the circle to the left to green.

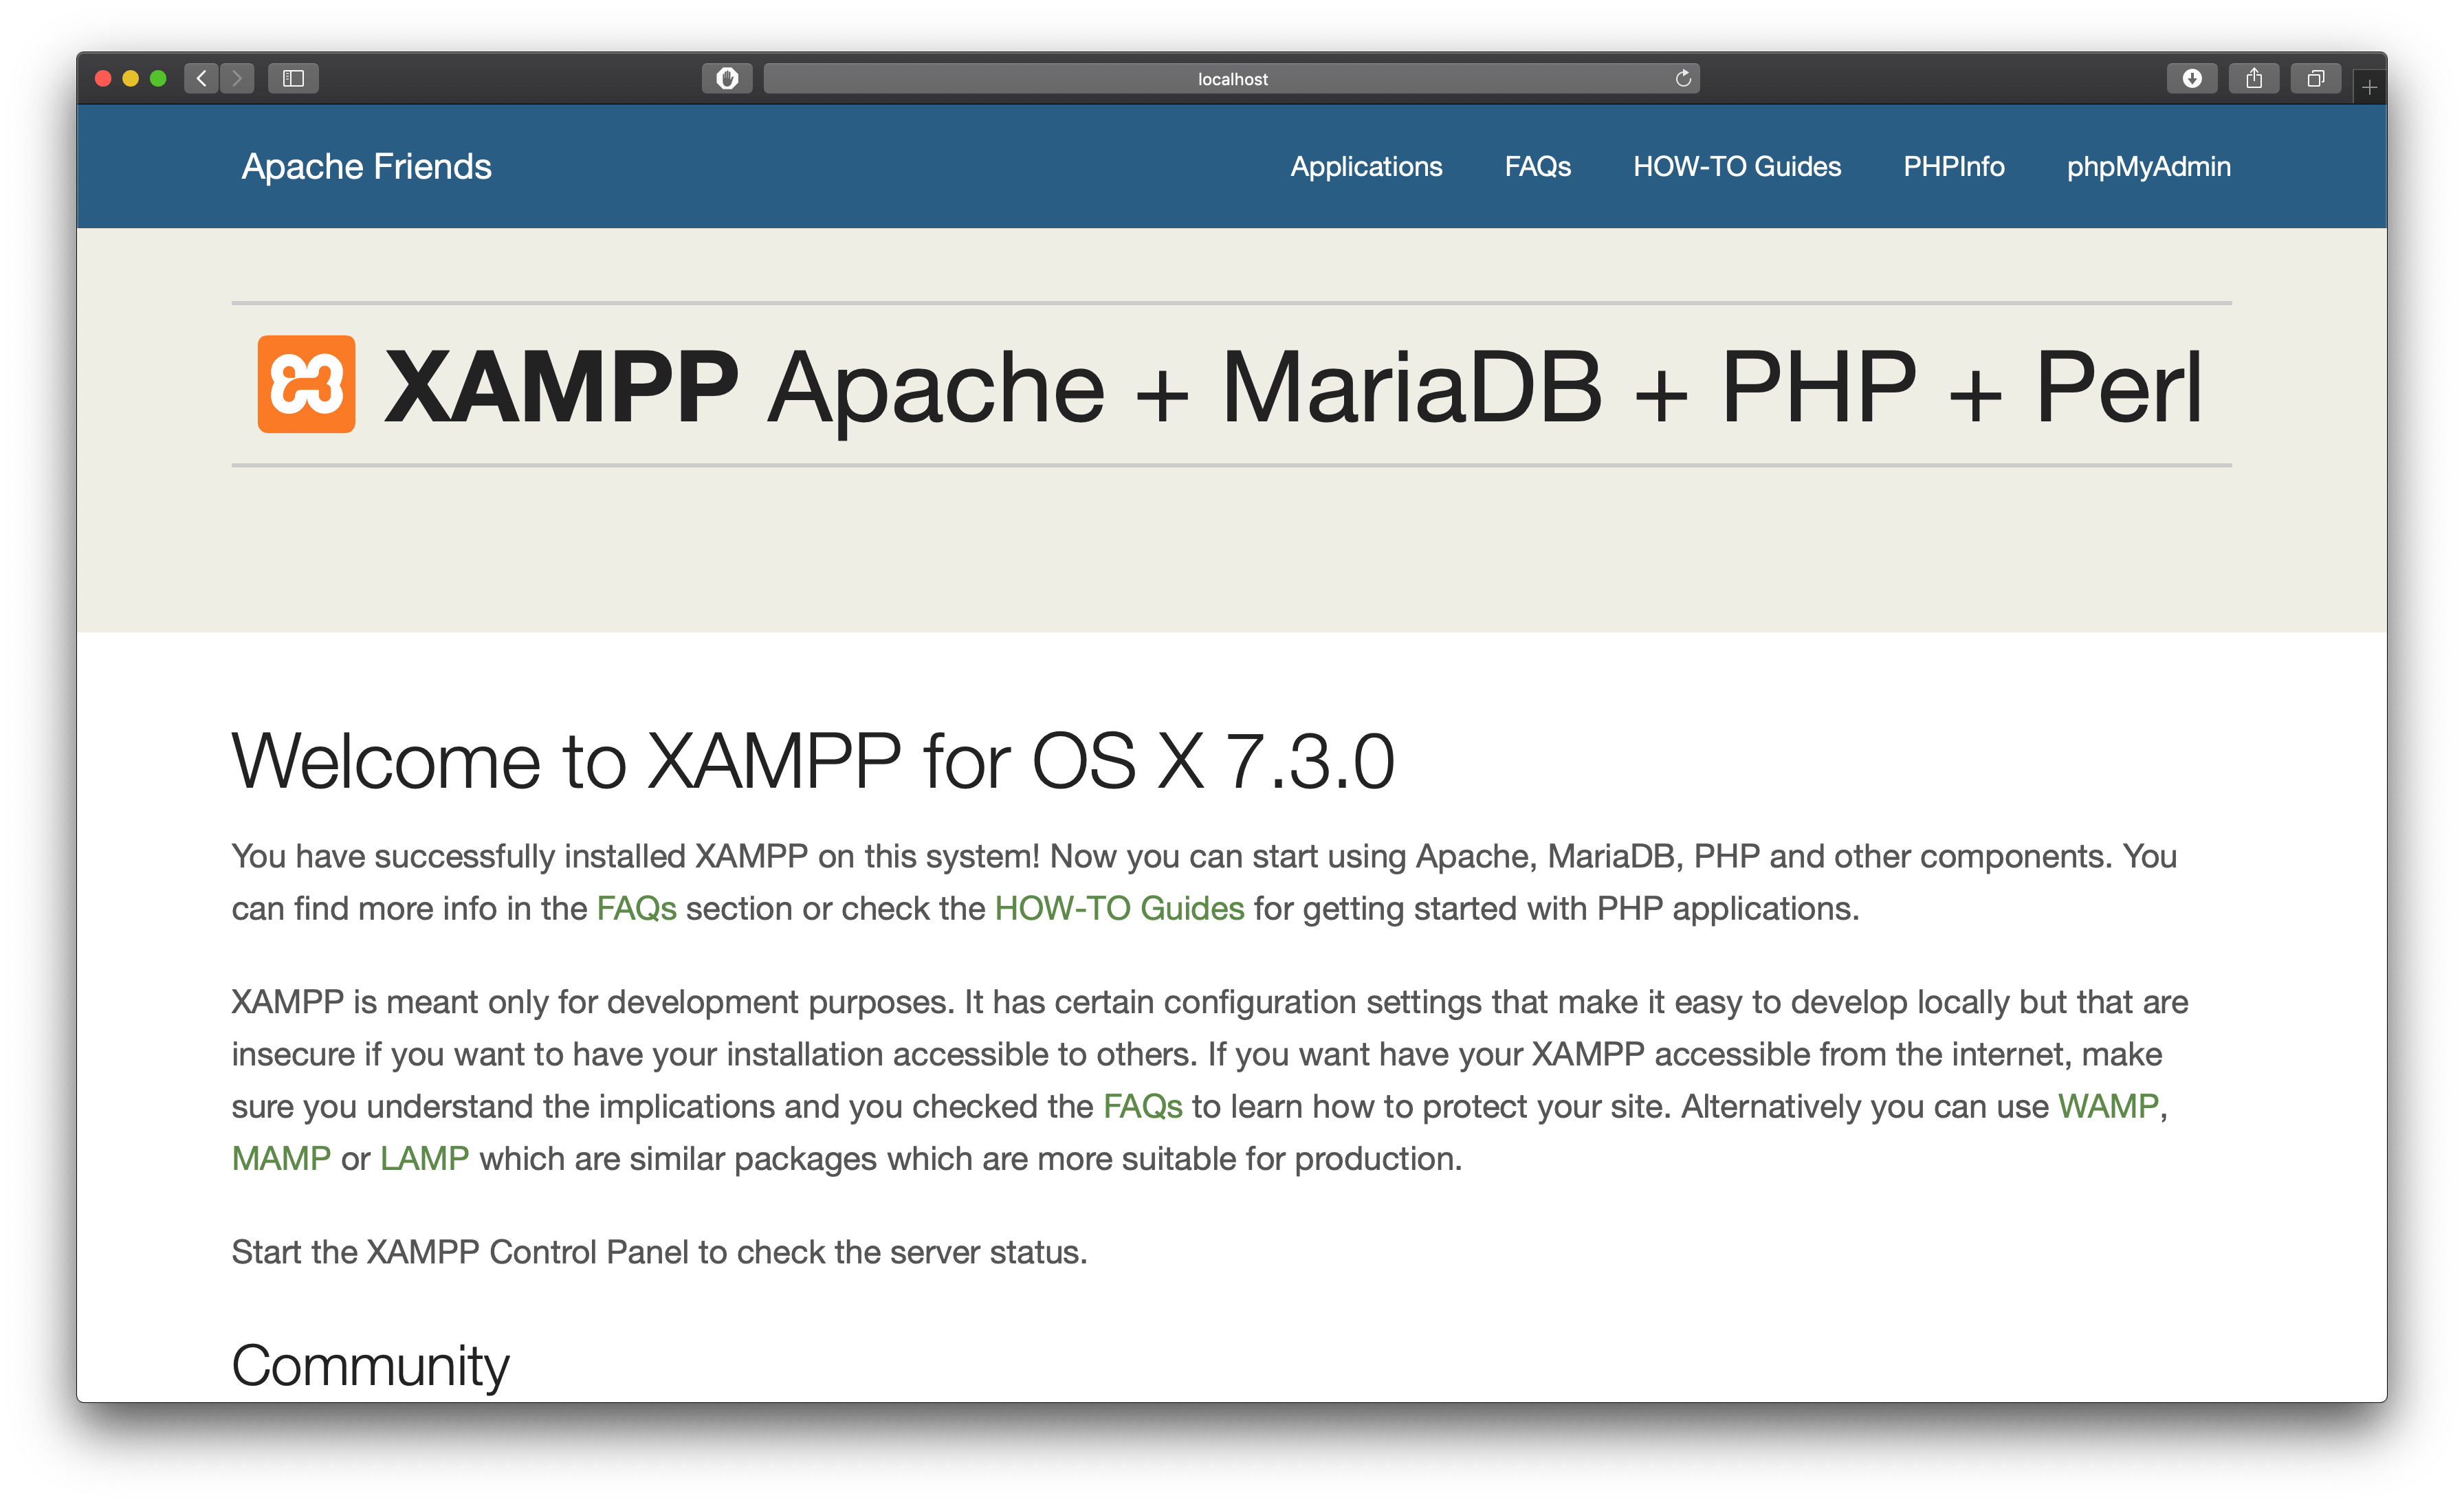
Voila, just type “localhost” in your favourite web browser to see a static page as show in the image below.
Leave a Reply